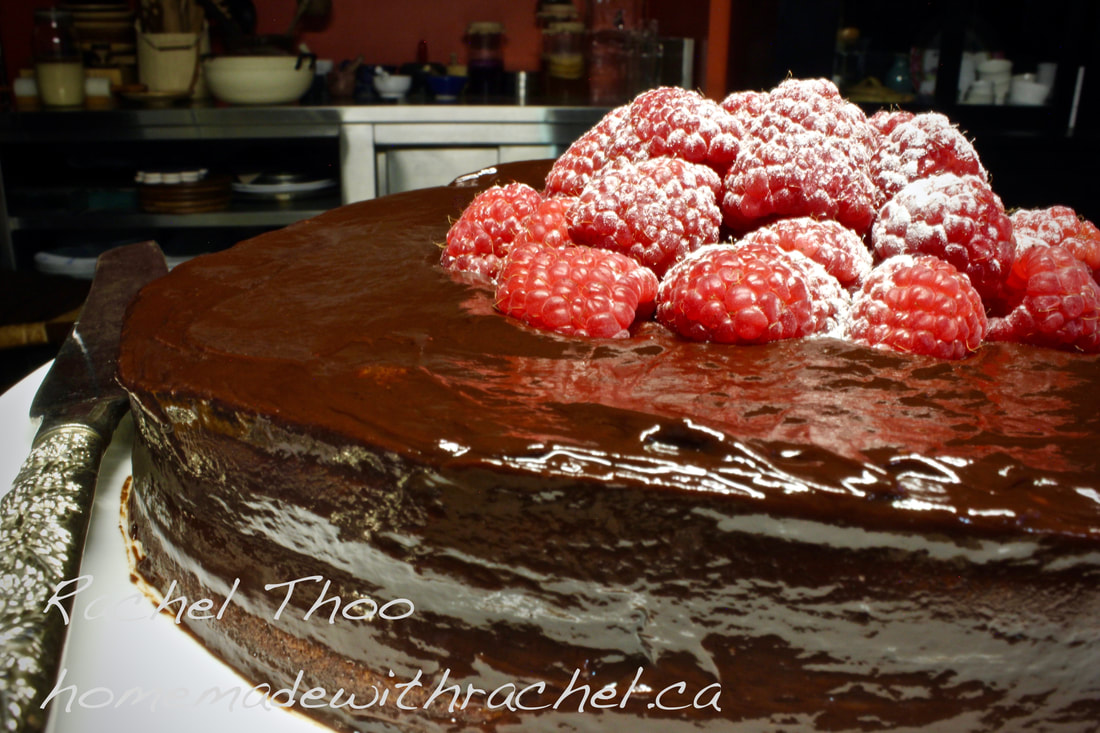
 Sourdough Starter Discard Double Chocolate Cake This is a quick and easy decadent chocolate cake recipe using only sourdough starter discard, with no extra flour added. It is extremely versatile, with simple ingredients a baker would have handy such as sourdough starter discard, butter, chocolate, eggs, sugar, salt, vanilla, and cocoa power. You can dress it up with a creamy chocolate glaze, hard ganache, whipped cream, simply dust with icing sugar, or serve plain.
This cake isn’t a very sweet cake, and perfect for chocolate lovers. If you want it sweeter, increase the sugar. If you prefer it to be less rich, decrease the chocolate and/or cocoa to your liking. It is also versatile in the amount of sourdough discard you need from 1/4 cup to 2 cups. If you use 1/2 cup of the sourdough discard, it would be a truffle-like cake. If you use up to 2 cups of the sourdough discard, it will be a lighter cake. The adaptability is endless. Ingredients *Measurements are provide for volume, as well as in imperial and metric weights. Bear in mind a cup of sugar does not weigh the same as a cup of butter. Moreover, a U.S. cup (8.45 imperial fluid ounces) is not equivalent to a Canadian cup (8 imperial fluid ounces), Australian cup (8.80 imperial fluid ounces), Japanese cup (7.o4 imperial fluid ounces), or U.K. cup (10 imperial fluid ounces), etc. 1 c (6 oz) 170g 6 semisweet chocolate squares or 1 cup chocolate chips ½ c (4 oz) 115g unsalted butter, cut into chunks ½ c (4 oz) 100g sugar, separated in half ½ tsp 0.5ml salt ½ tsp 0.5ml baking soda 1 tsp 1ml vanilla or 1 vanilla bean 6 large eggs, separated ¼ c (1 oz) 25g cocoa powder, sifted ½ - 2 c (4-16 oz) 100-400g sourdough starter discard at 100% hydration (room temperature) *Note: the volume of your starter varies depending on when it was fed and how active it is. ½ cream of tartar (optional) Method
Tips
2 tsp 10ml icing Sprinkle icing sugar through a sift on top of cake after the cake has cooled down. Chocolate Ganache (Hard): 4 oz (bittersweet chocolate ½ c (4 fluid oz) 120ml heavy cream Heat cream to simmer. Turn off heat. Add chocolate. Whisk until smooth. Chocolate Glaze: 1 c 6 oz (150g) chocolate chips 1 TB 15ml unsalted butter ½ c (4 fluid oz) 120ml heavy cream Heat cream. Add butter till melted. Add chocolate chips. Stir till smooth. Let sit 5-10 minutes till lukewarm. Pour over cake. If you don’t have cream, you can use milk, but use less milk to right consistency. Bear in mind that the glaze will be much thicker when cooled down.
1 Comment
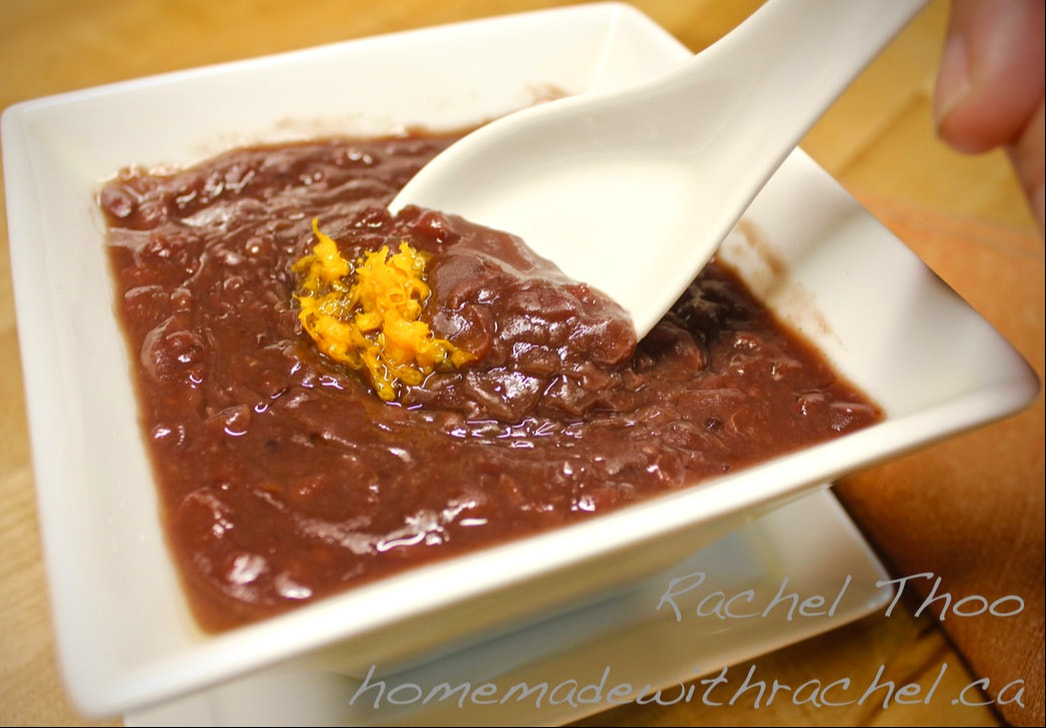 Call this dessert or snack what you like --- Sweet Red Bean Pudding, Porridge, or Soup. I call it deliciously easy and healthy! Sweet red bean porridge is a classic Chinese banquet dessert. The only necessary fundamental requirements are the red beans (also known by its Japanese name, adzuki beans, in the western hemisphere), rock sugar, and dried tangerine peel. It is so versatile, you can embellish it accordingly to region or country with highlights such as mochi, black or white glutinous rice, lotus seeds, tapioca, red dates, dried longan, sago, ginkgo nuts, white fungus, lily bulbs, coconut milk, pandan leaves, etc. 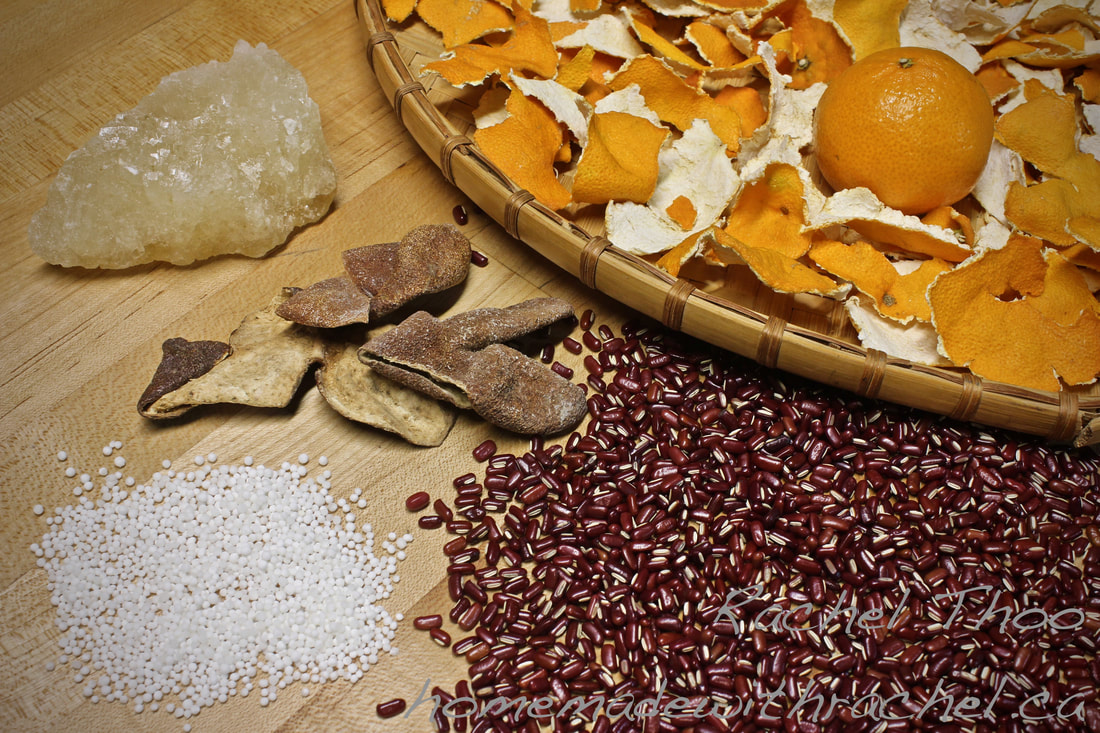 Sweet Red Bean Porridge is Part of Traditional Chinese Medicine Rich in fibre, protein and manganese, red beans are said to reduce fluid retention, alleviate oedema, promote diuresis, eliminate skin heat and toxins, and help with weight loss. It is known to lower the risk of type 2 diabetes. It also helps to reduce high cholesterol and heart disease. They are also loaded with numerous disease-fighting and health promoting antioxidants, making them amongst the highest antioxidant foods available. Dried Tangerine/Mandarin Peel is a warming ingredient, according to Traditional Chinese Medicine, stimulating qi movement and thus, great for winter consumption. It transforms phlegm by enhancing the functions of the lung and spleen channels. It helps with indigestion and coughs; reduces nausea; stimulates circulation, and treats diarrhea. Tea made from dried tangerine peels is also said to help with morning sickness in pregnancy. Tangerine peel contains volatile oils including tangeridin, citromitin, carotene, inositol, vitamin B1, and vitamin C. The addition of other ingredients such as lotus seeds, white fungus, lily bulbs, etc help to promote good health and alleviate certain health issues. 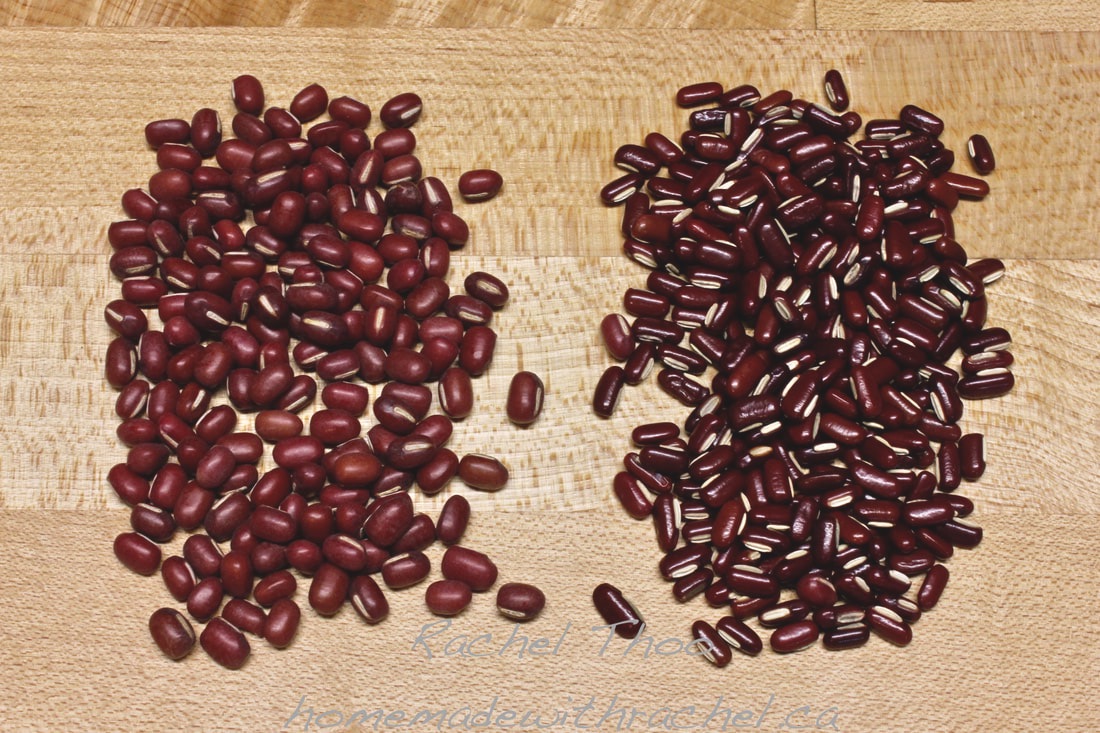 Here are two types of red bean cultivars. On the left is the commonly known bean in the western hemisphere. The red bean on the right, more familiar in Asia, is slimmer, glossier, more vibrant in colour and delicate in texture. Red Beans Did you know red bean is a mung bean? Also known by its Japanese name, Adzuki beans, in the western hemisphere red beans are the most familiar, but there are also white, black, grey and variously mottled varieties cultivated in Northeast Asia. The taste of the red bean, unlike other beans, is mildly sweet. Therefore, it is widely used for desserts in Asia. The bean can be popped like popcorn, and roasted as a coffee substitute. 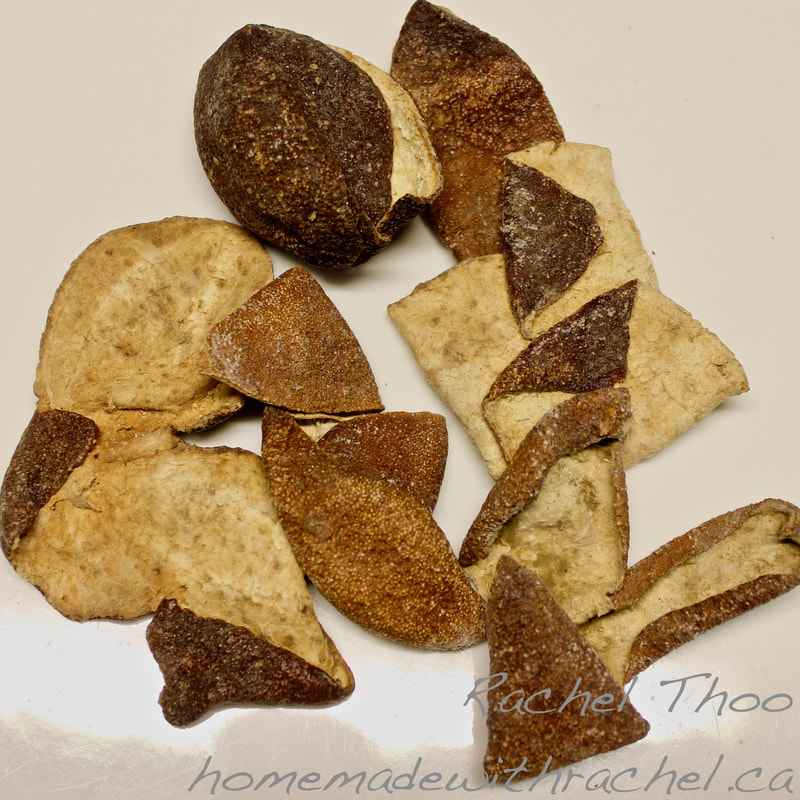 Dried Tangerine/Mandarin Peel Known as Chen pi or Chim pi (literally “preserved peel”), they are organic, sun-dried and aged. It has a woodsy citrus scent and flavour. The longer it ages, the higher the quality. It is also known as “ju pi” or mandarin orange peel. Chen Pi is the highly valued skin of the Xinhui Mandarin, grown in Guangdong province. The fruit is sour, and the core value is in the skin itself. They are strictly harvested just for the peel.  You can substitute fresh or dried orange zest or dry your own tangerine peel, although the taste will be not quite the same. Chen pi has unmistaken sharp and bitter notes. Nevertheless, fresh orange peel or zest gives it a refreshing taste. The pith or white part of citrus fruits can be bitter. Avoid using it if you do not want to risk bitterness. 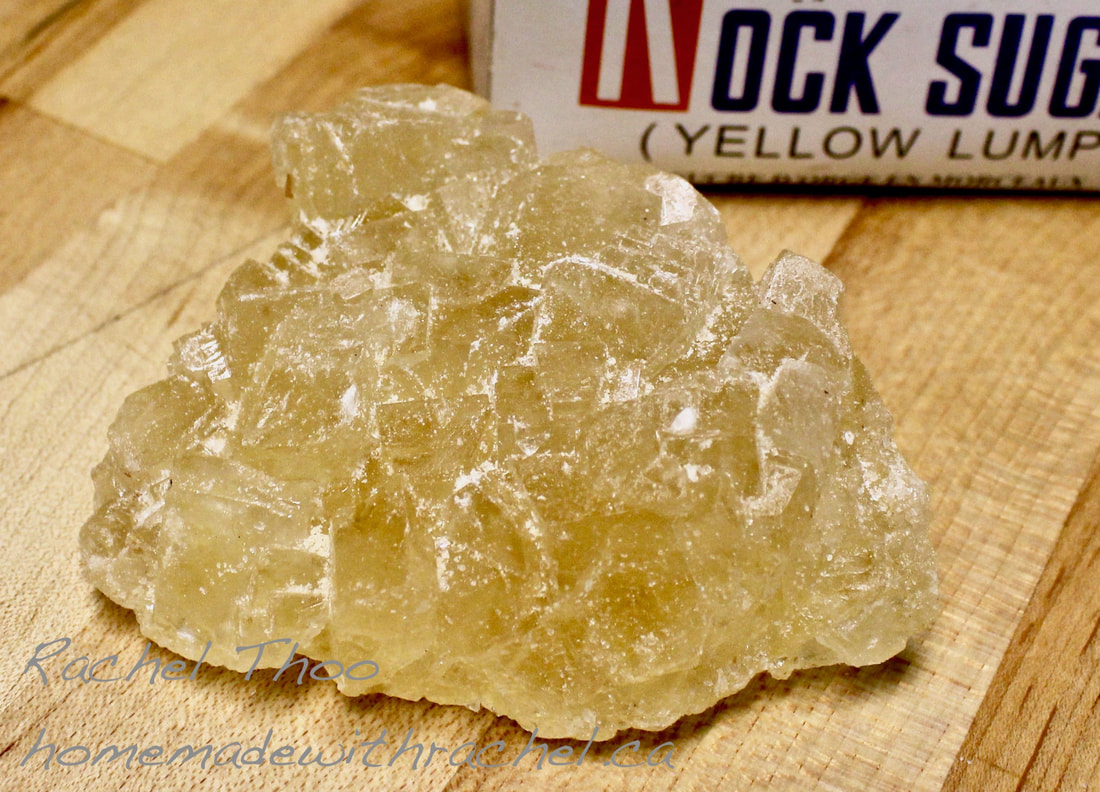 Rock Sugar Chinese rock sugar, also known as Crystal sugar, has a fuller, clear, neutral taste, and less sweet than white granulated sugar, organic or otherwise. Because of its subtle notes, it does not overpower the flavour of your drink or dish, and actually enhances the flavour of the ingredients. It gives a mellow, delicate flavour that regular white sugar cannot achieve, although it is a crystallised refined cane sugar. It is an opaque, white or amber coloured sugar, and comes in irregular-shaped lumps of various sizes, hence the name rock sugar. Kwangtung Province in China is known for rock sugar. You can use any sugar or sweetener as a substitution. I recommend organic cane sugar, or Indian misri, if you can’t find Chinese rock sugar. 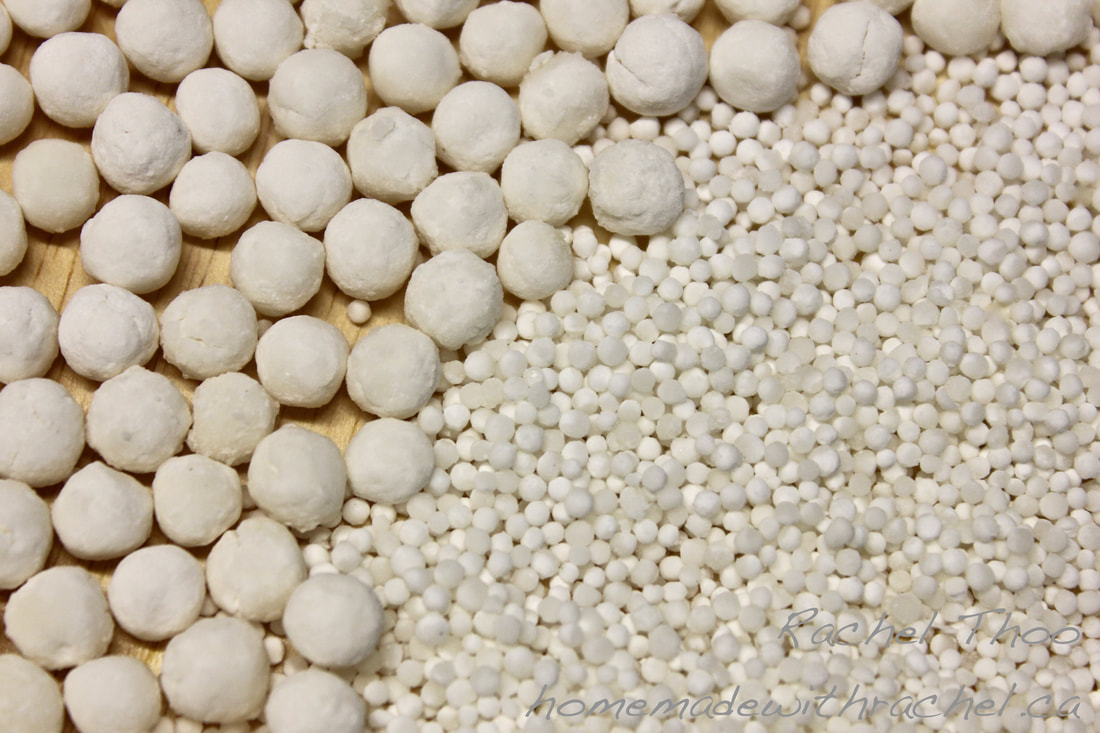 Sago/Tapioca Balls Sago balls are tiny white pearls that look similar to tapioca pearls. While tapioca is made from the tuber of the cassava plant, sago is the starch extracted from the pith of sago palm trees. Both are white little dried spheres, and translucent when cooked. Tapioca balls are known as boba (transliteration: bubbles), or pearls in bubble tea. Sweet Red Bean Porridge Recipe 4 servings Ingredients 1 ½ cups or 300 grams red beans – soaked for 3 hours or overnight 4-6 cups or 1-1.5 litres of water 1 piece dried tangerine peel – (soaked for 15-30 minutes if you are going to scrap off the pith) ½ cup or 115 grams of rock sugar or sugar of your choice 3 tablespoon or 45ml sago or tapioca (optional) 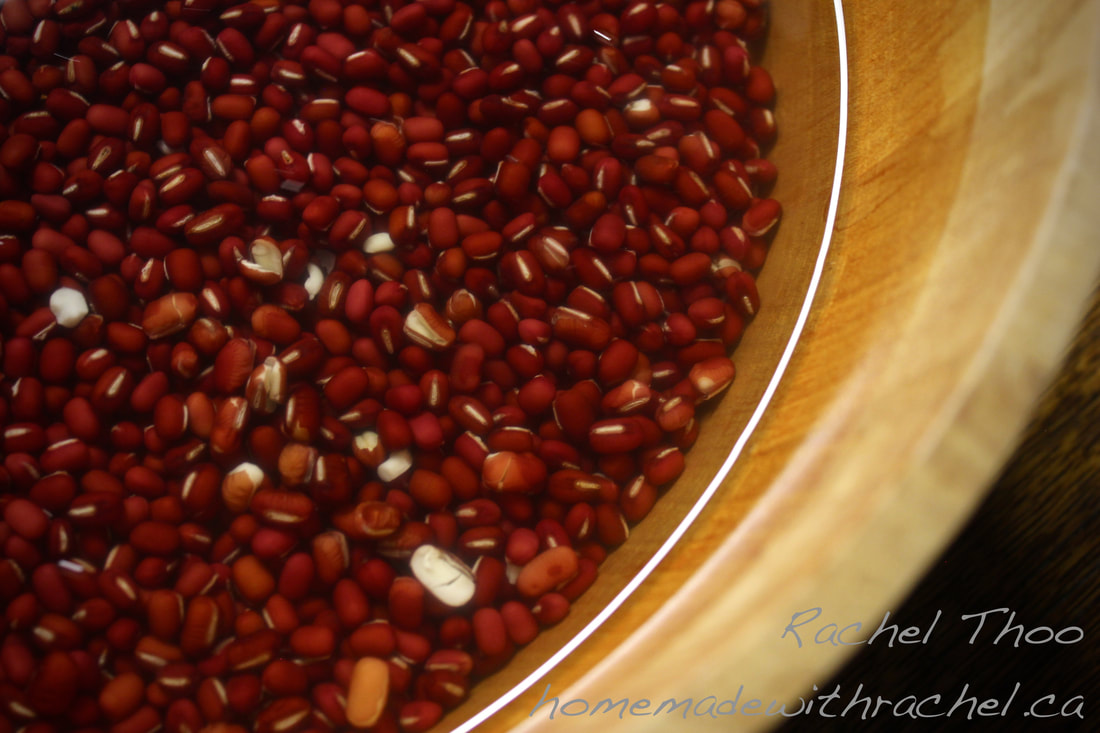 Directions Soak the red beans for 3 hours or overnight. 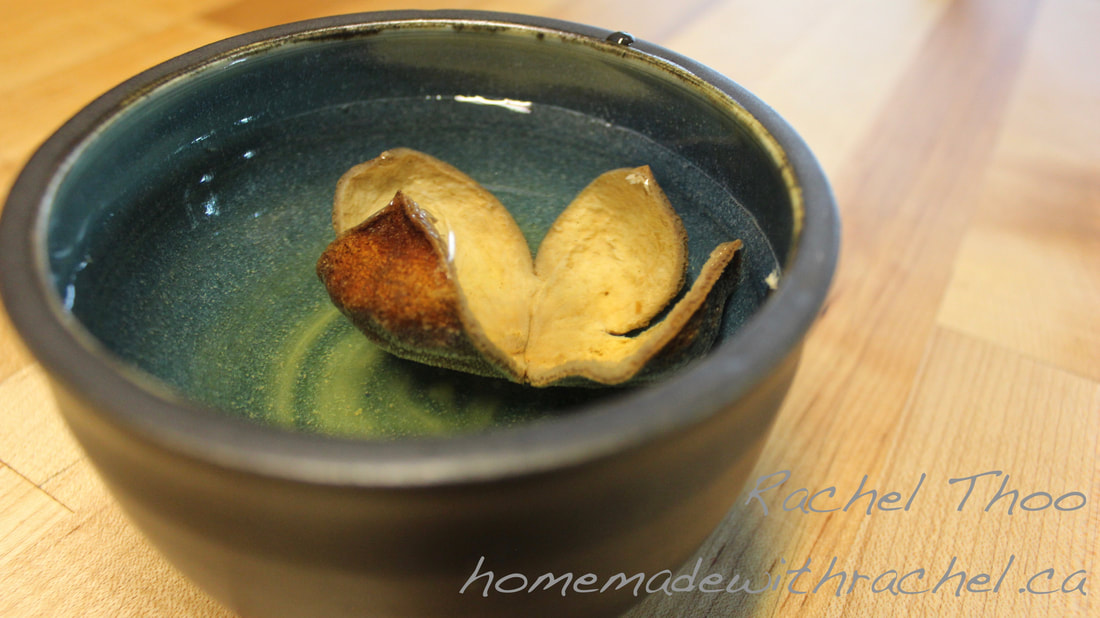 Optional: Soak Mandarin peel for 15-30 minutes in room temperature water if you are going to remove the pith.  Discard the soaking bean water, rinse and drain. Do not use the soaking water to cook your beans. You could save the discarded water to feed your nitrogen loving houseplants. Check for bad beans and stones while rinsing the beans. Place the red beans in a medium large pot and cover it with 4-6 cups of water, about 1-2 inches above the top of the bean level. I use my finger to measure it to one knuckle (one inch) for thicker consistency and 2 knuckle worth for a thinner consistency. I usually start with 4 cups (one knuckle full, depending on the width of your pot) and add more as needed. Cover and bring to a boil on medium-high. Turn heat down to medium-low as soon as it starts to boil. 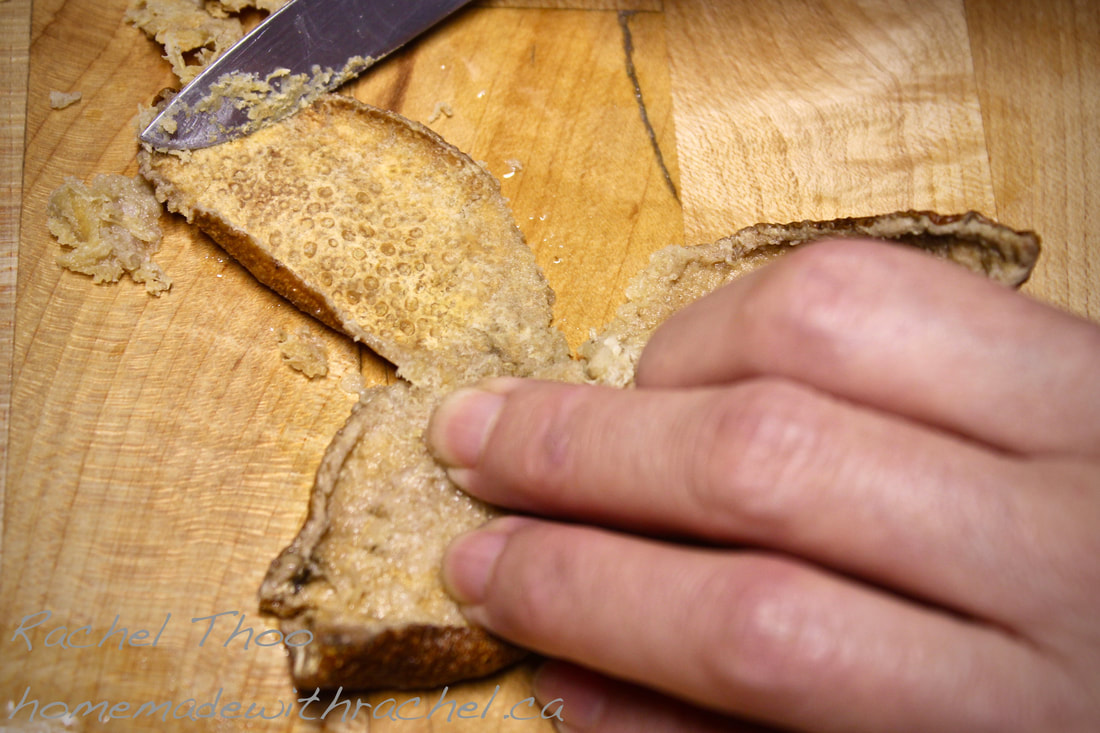 Optional: scrape off the tangerine pith from the peel with a spoon or knife. Add tangerine peel to pot. Cover, lower heat to medium and cook till beans are done. This could take anywhere from one hour to 3 hours depending on how long you soaked your beans. Check and stir periodically to see if it needs more water. I use a Chinese clay sandpot which is virtually non-stick. When using a stainless steel pot, you may want to stir it occasionally. Test the doneness of the bean by squishing it between your fingers or against a spoon. If the beans are soft, add the rock sugar or alternative sugar, along with the tapioca (optional). If you add the sugar before the beans are fully cooked, the beans will not soften. Stir the sugar and tapioca in. Cover and let simmer for another 15-30 minutes, stirring occasionally. Check to see if the sugar has dissolved, and the tapioca is cooked. Tapioca is cooked when translucent. Larger tapioca balls take longer to cook. Novices may find the smaller tapioca balls easier to work with. Once the sugar has dissolved and the tapioca is fully cooked and translucent, turn the heat off and let sit for another 15-30 minutes. Remove Tangerine Peel and discard. Serve hot, room temperature or cold. You can zest some fresh orange peel on top to give it a refreshing taste or serve as is. It can be consumed as a dessert, a midday snack or as a breakfast porridge. This dessert is moderately sweet. Please adjust the sweetness according to your liking. 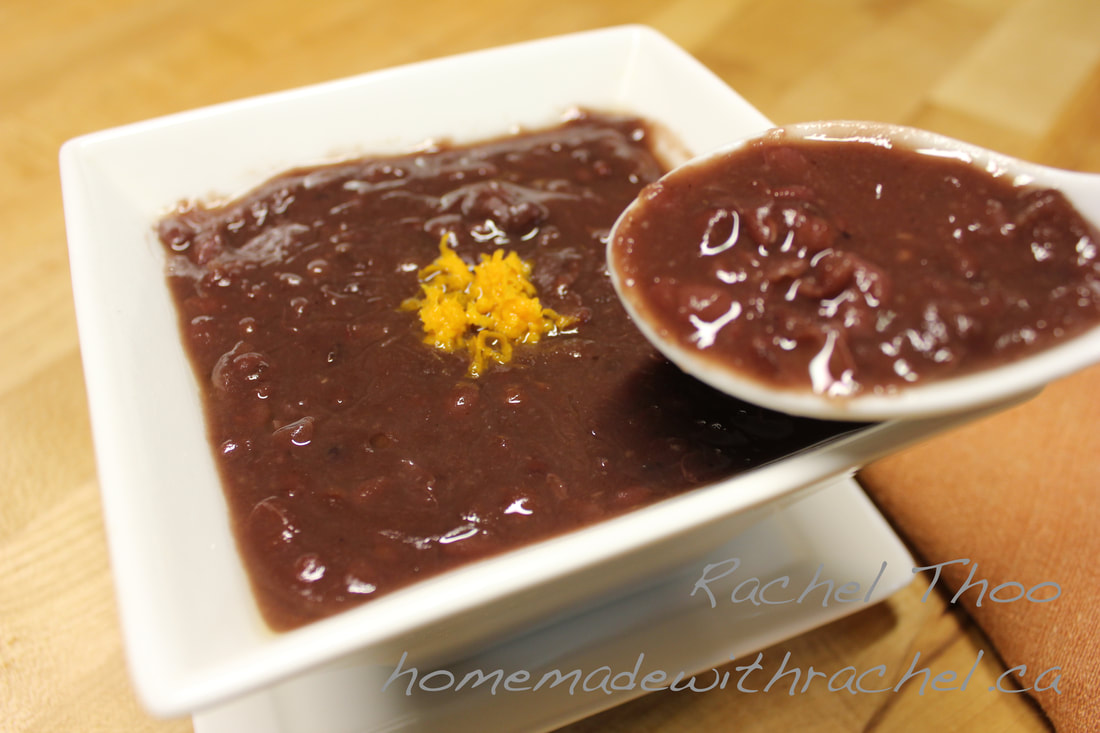 Tips: The difference between calling it a pudding, porridge or soup is its consistency. If you are using sago/tapioca, it will thicken your sweet red bean porridge. To thicken without using tapioca, you can either reduce the water content, mash some of the beans up, or add a cornstarch or tapioca starch slurry by mixing 1 tablespoon of corn or tapioca starch to ¼ cup of cold water and slowly add to the simmering red bean porridge, stirring consistently until thickened. That should take about a minute. To thin the sweet red bean porridge, you can either add water or coconut milk to desired consistency. Sweet Red Bean Popsicles You can make popsicles out of them by blending thick sweet red bean porridge (leave bits of red bean for texture.) and freezing them in popsicle trays. Optional: add coconut milk to the blend for a coconut flavoured popsicle. |
AuthorRachel conducts gardening, culinary and fermenting workshops/retreats at her home on 100 acres in Northern Ontario, Canada, where she lives in creative harmony with nature. Rachel’s mission is to ensure the wisdom of our ancestors is preserved for future generations. Archives
May 2019
Categories
All
Images ©2002-2023 Rachel Thoo |
 RSS Feed