 Learn how to make milk kefir cream cheese, yogurt, raita, sour cream, labneh, and cheese cake with just one ingredient - Milk Kefir! There are many benefits to making milk kefir at home. I have not purchased store-bought yogurt, sour cream, nor cream cheese since I started making this healthy-gut remedy. Furthermore, it has more probiotic strains; and its versatility means you can make a variety of products from just milk kefir! If you have over-cultured your milk kefir and it becomes too tart, or you just want to consume milk kefir in more than drinkable form, you can drain the whey from the milk kefir, and use it in various ways. It’s versatility is endless. You could eat it as a yogurt with fruits. You could use it as a savoury dip with herbs and spices. You can use it as a raita as well. How about as a healthy frosting for cakes? It is also delicious as a sauce. You can also press it further into a firm soft cheese and use it as a cream cheese or farmer’s cheese. I love making cheesecakes with it. This instructional video will show you how easy it is to make Milk Kefir Cream Cheese, Yogurt, Sour Cream, Labneh, etc. All you need is:
To buy milk kefir grains, click here: Buy Milk Kefir Grains 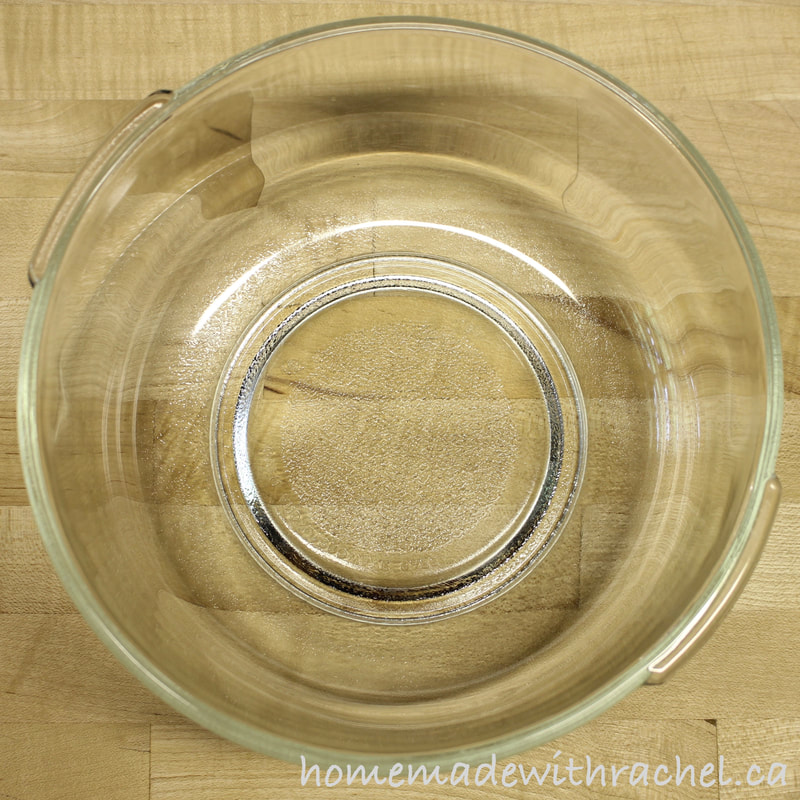 Non-corrosive and Unleaded Bowl 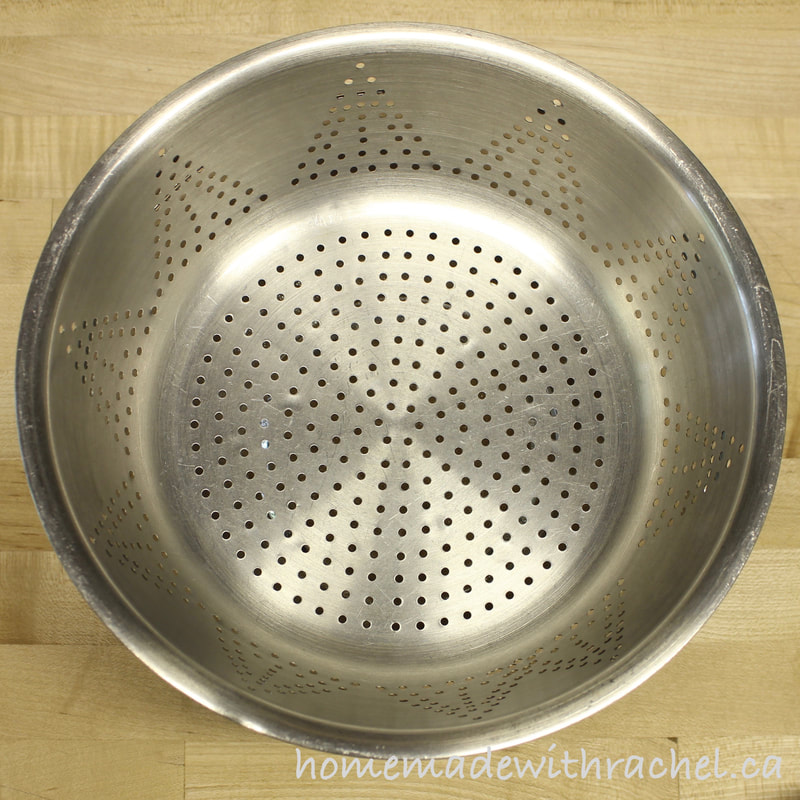 Non-corrosive Colander 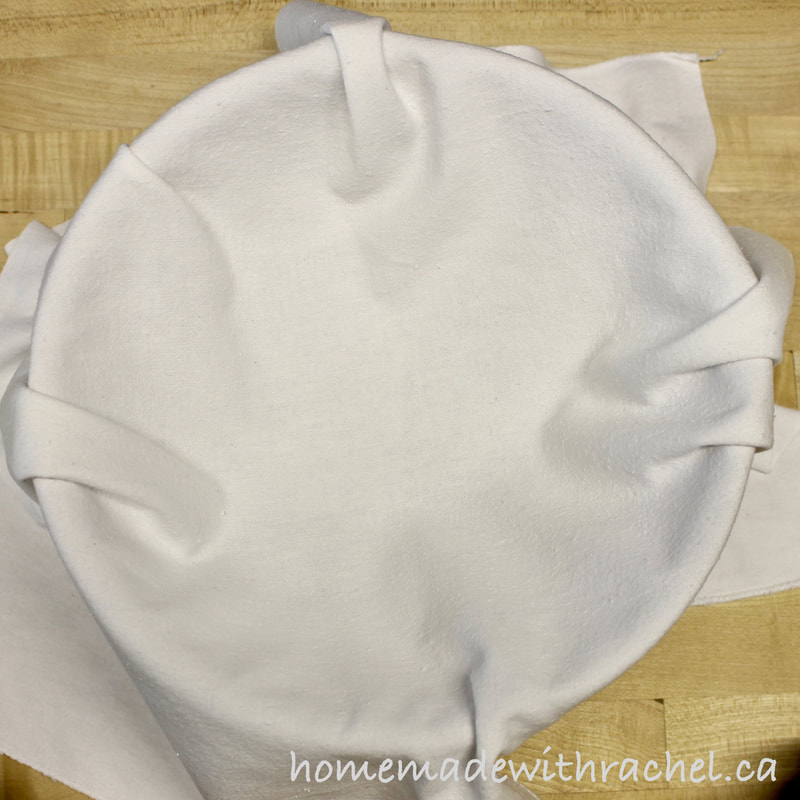 Cheesecloth 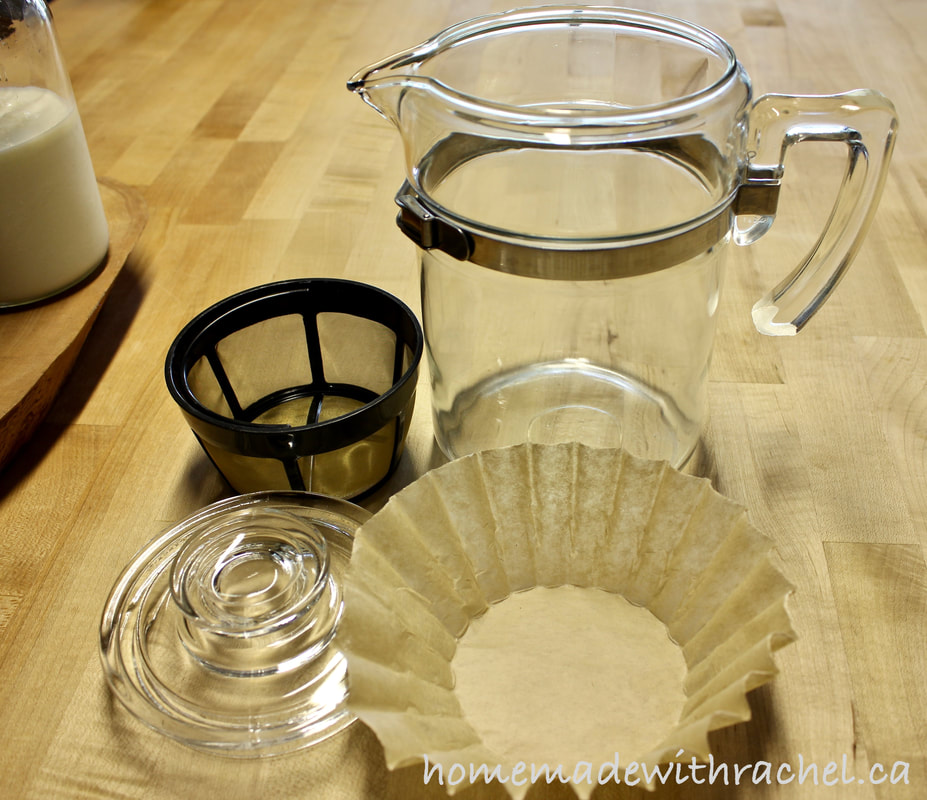 Alternatively, if you would like to make a small batch, you can use a coffee filter/strainer with a vessel large enough to suspense the filter to allow the whey to drip into. 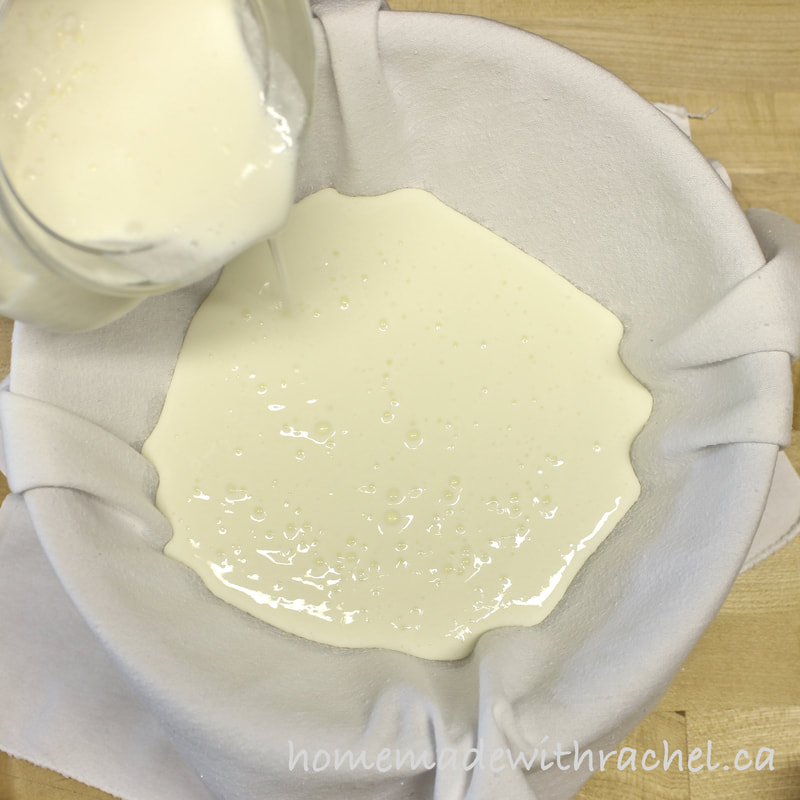 Instructions: Place colander in a bowl, making sure it is suspended and not too large that the bottom of the strainer touches the inside bottom of the bowl. You would need ample room inside the bowl to catch the whey. Line the colander with cheesecloth. Pour the milk kefir into the cheesecloth lined colander. 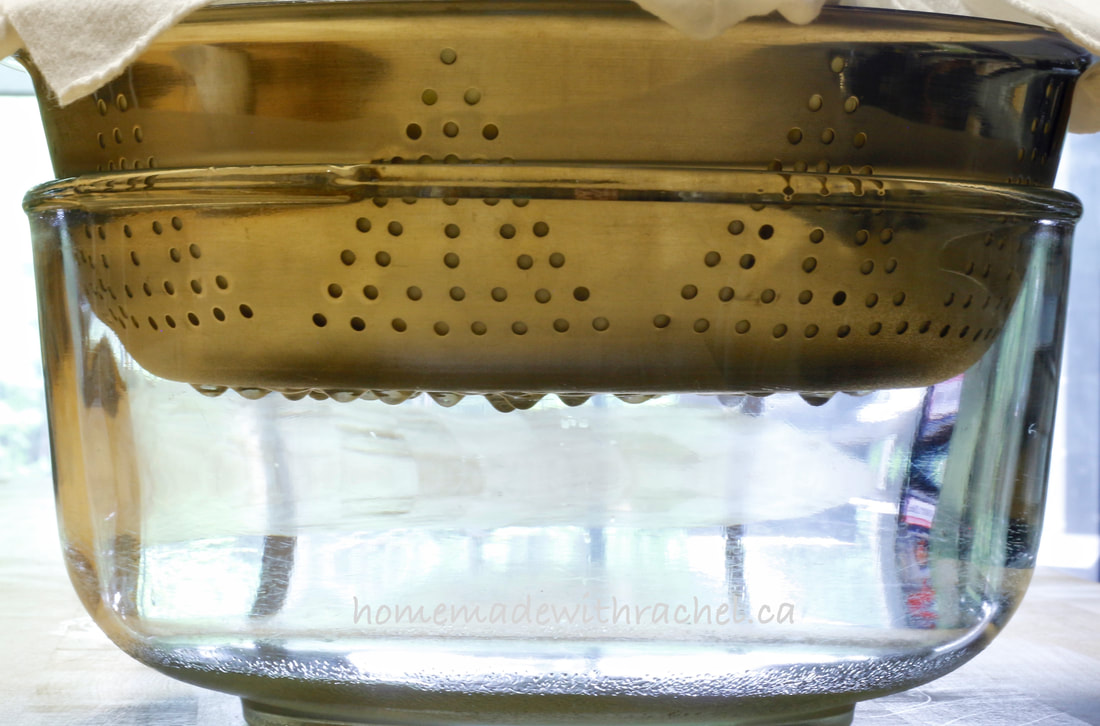 The Whey will start to drip from the bottom of the colander into the ball in a matter of minutes. 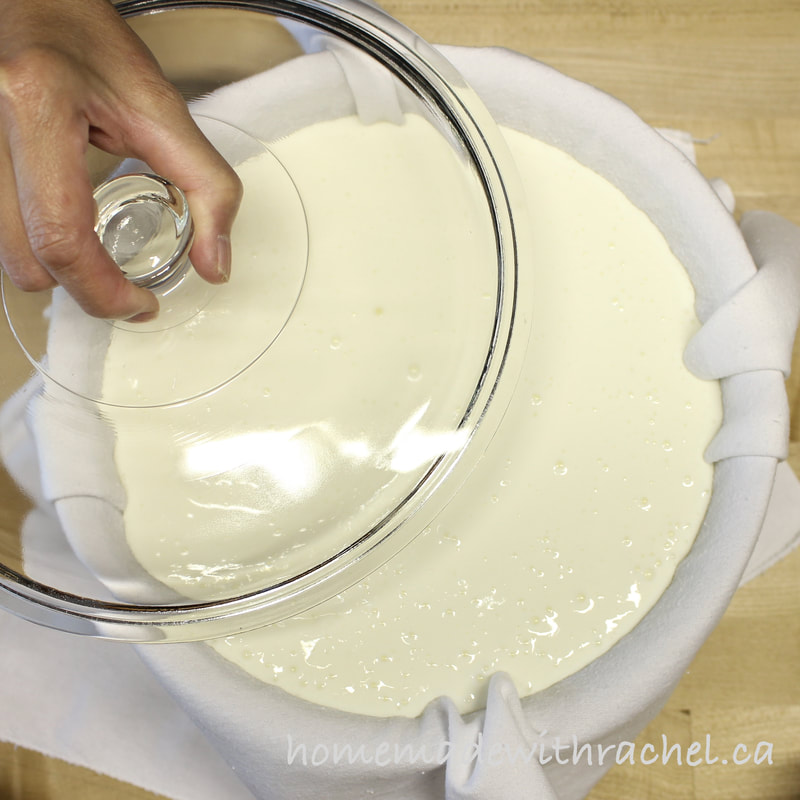 Cover with a non-corrosive lid. 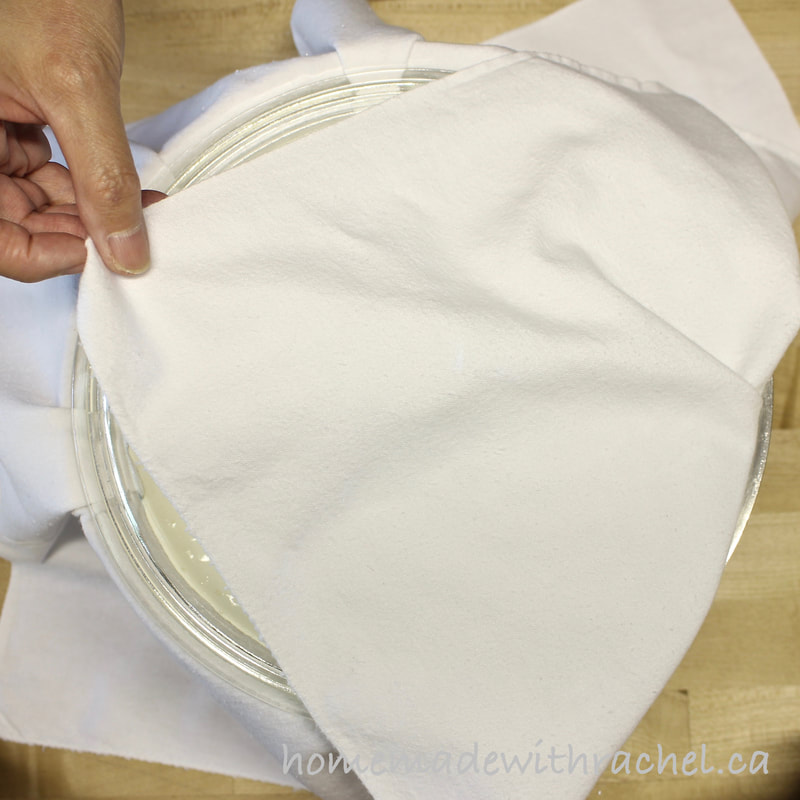 Fold the cheesecloth over the lid. The cloth will start to absorb the whey liquid and if left hanging down, will start to drip. Refrigerate overnight. 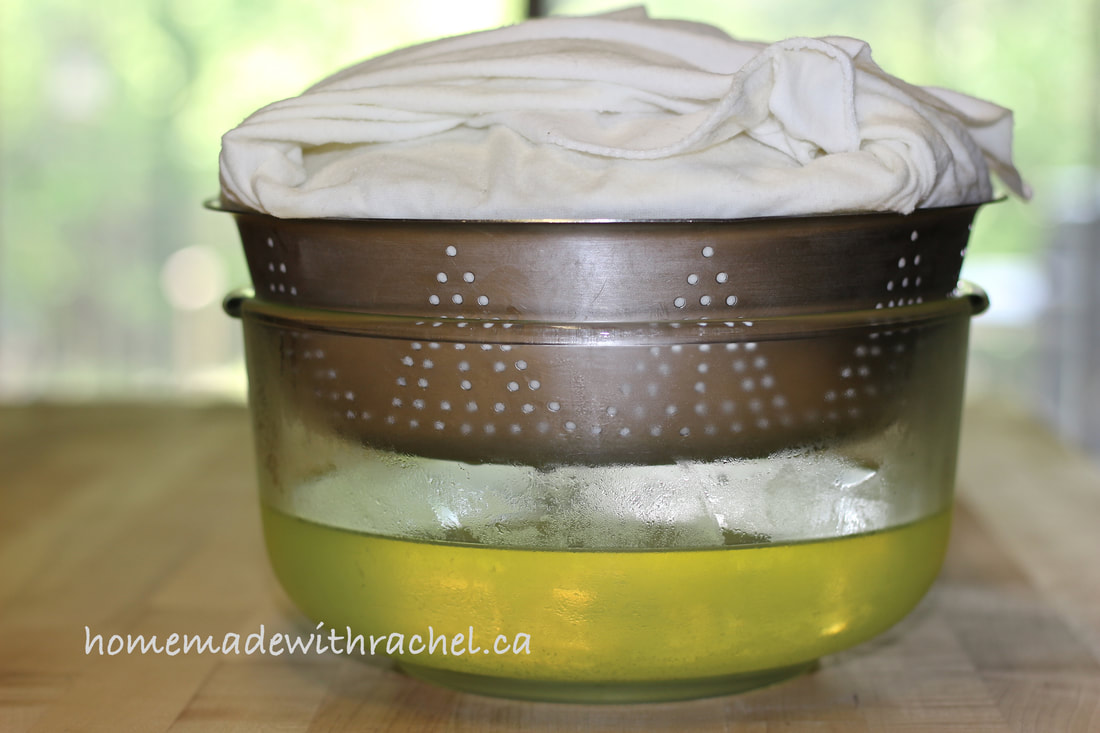 The next day, most of the whey would have separated into the bowl. 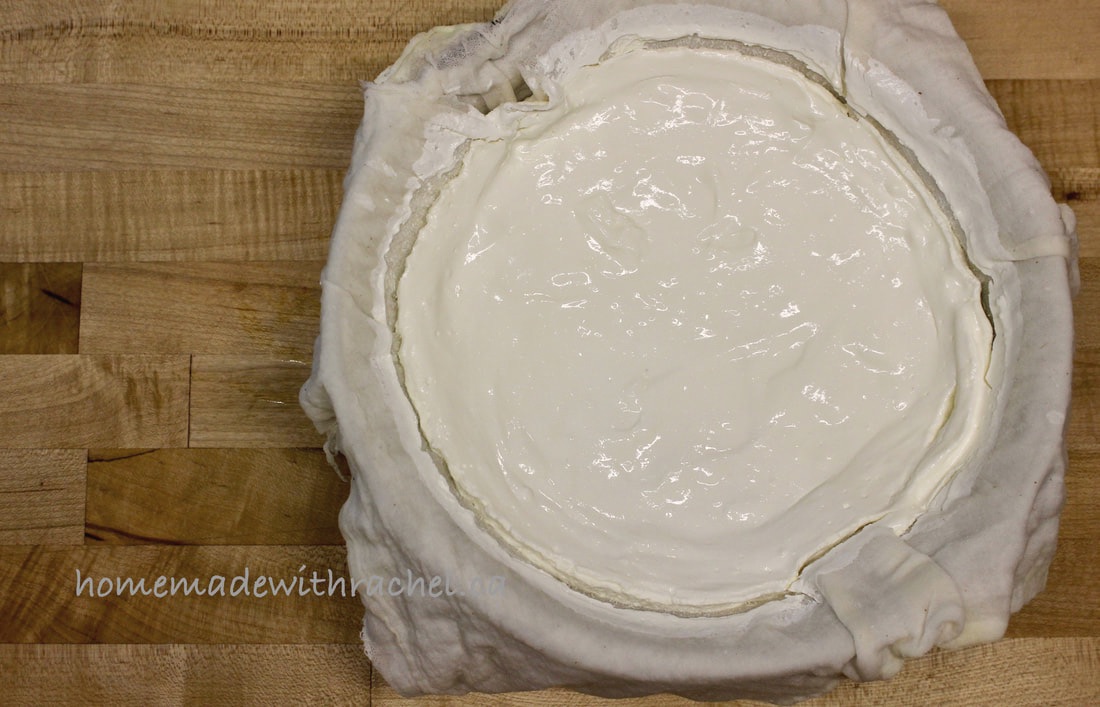 The milk kefir would have transformed into a thickened mass. You may stop the process now if you wish, and consume it much like yogurt or sour cream. 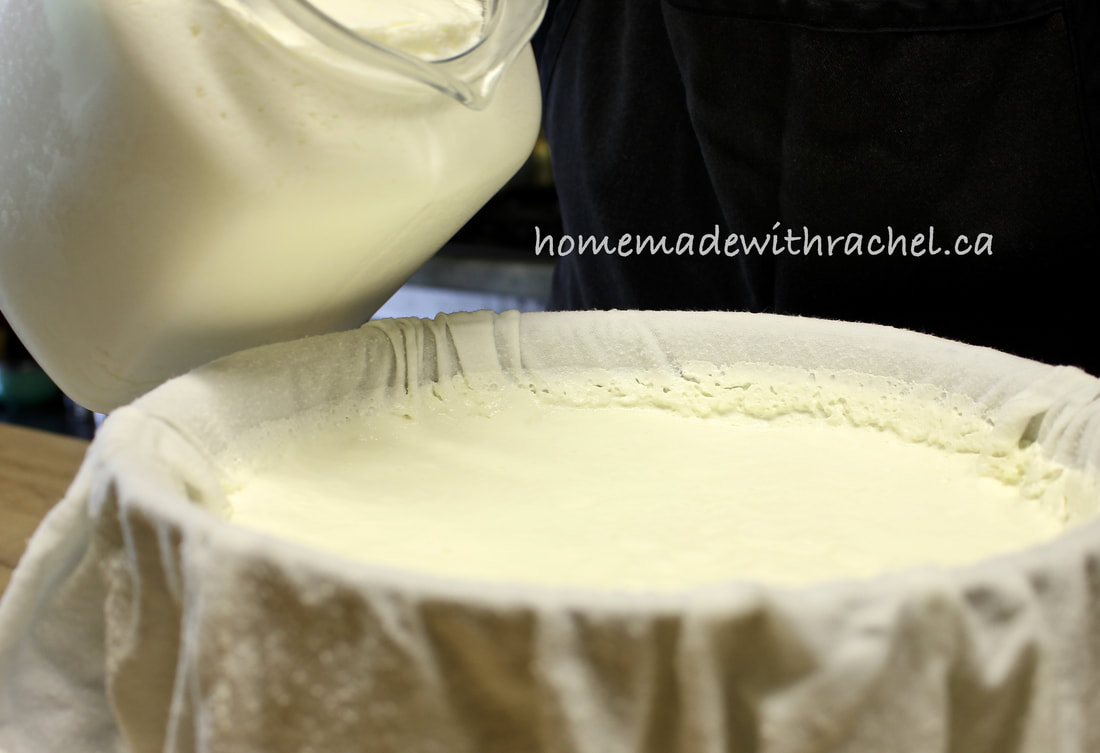 If you are only making a small amount of milk kefir at a time, you can simply keep adding milk kefir each day to the cheesecloth covered colander until you get the desired amount. 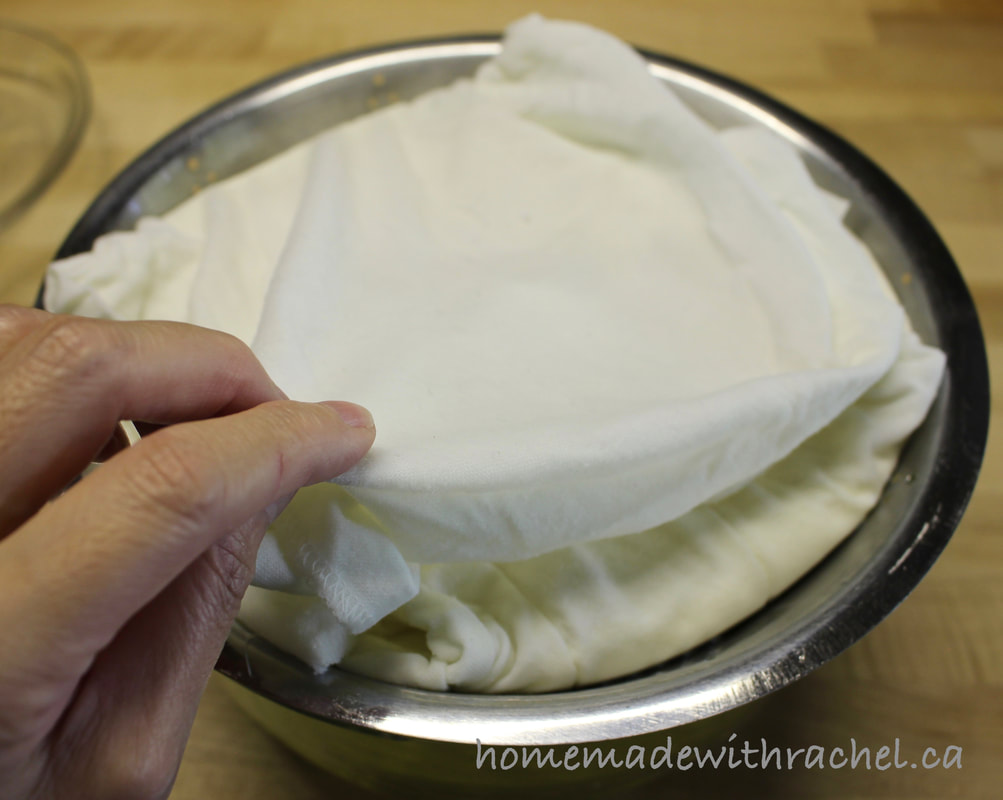 To make cream cheese, after it has strained to the consistency of yogurt or sour cream, fold the cheesecloth on top of the strained milk kefir. 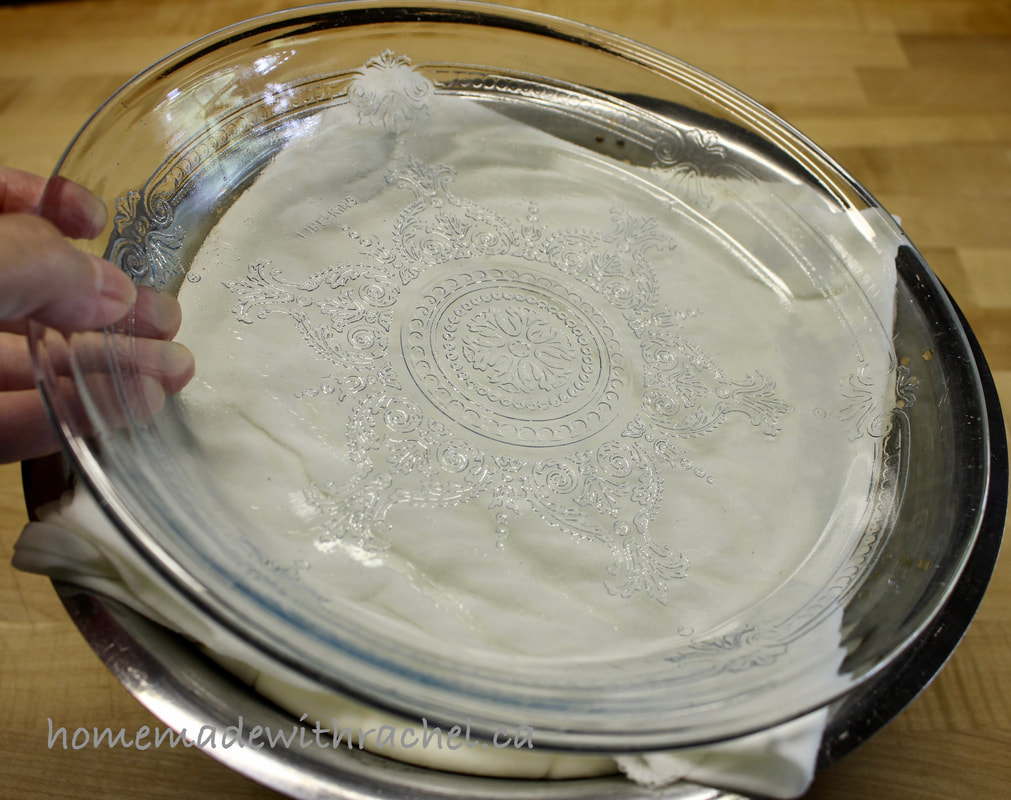 Place a non-corrosive plate or glass pie plate on top 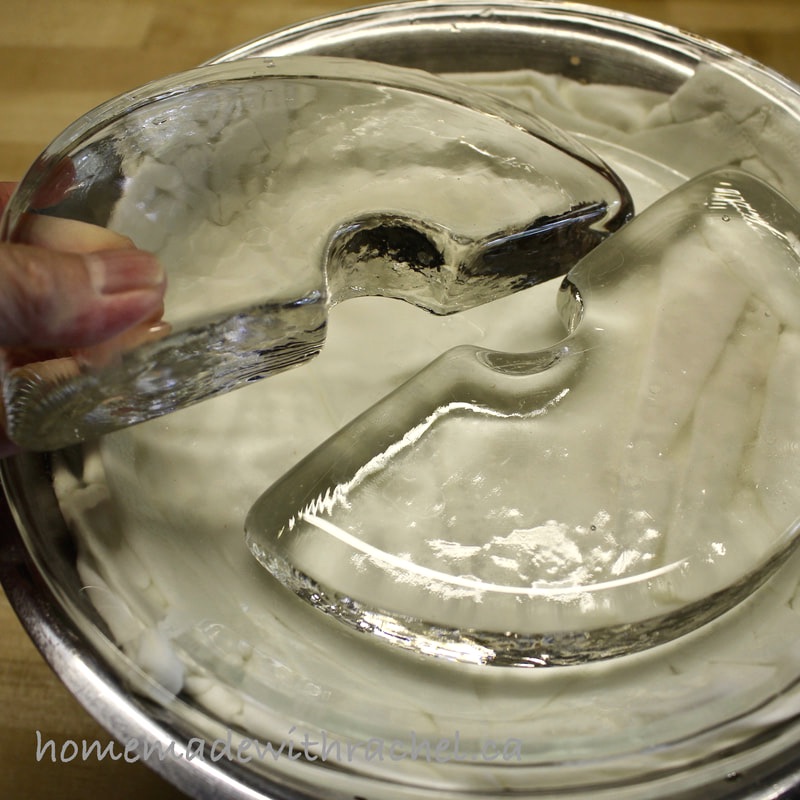 Top with some sort of weight such as a sealed glass jar of water, a large clean rock or fermenting weights. To make a thicker cream cheese, you may add extra weight in increments as needed. Be careful not to place too heavy a weight on top of it initially. Your goal is to gradually press as much whey from the milk solids to achieve your desired consistency. If the weight is too heavy, you will be forcing milk solids through with the whey which is not what you want to achieve. 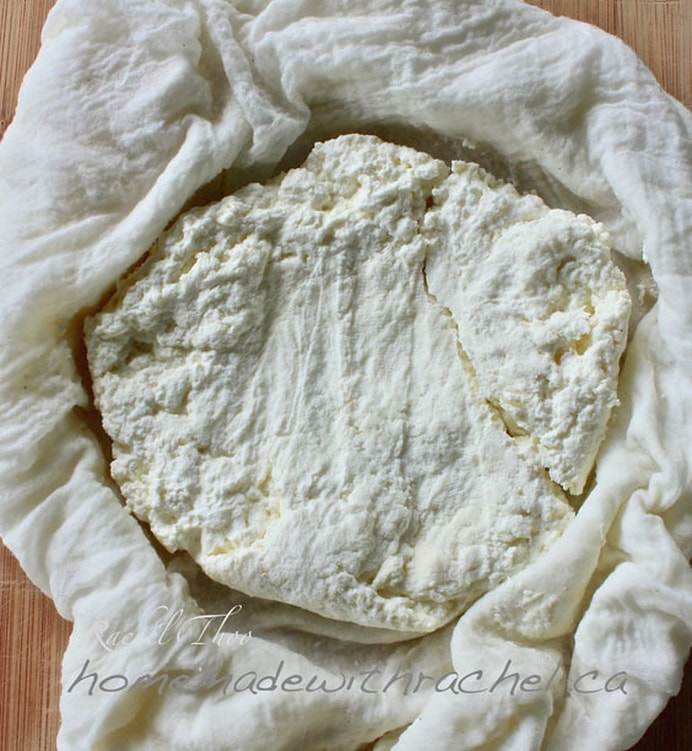 Your milk kefir cream cheese is now ready to make all sorts of delicious and healthy concoctions such as a sweet or savoury cheese spread, cream cheese, labneh, etc. The creativity is unlimited. 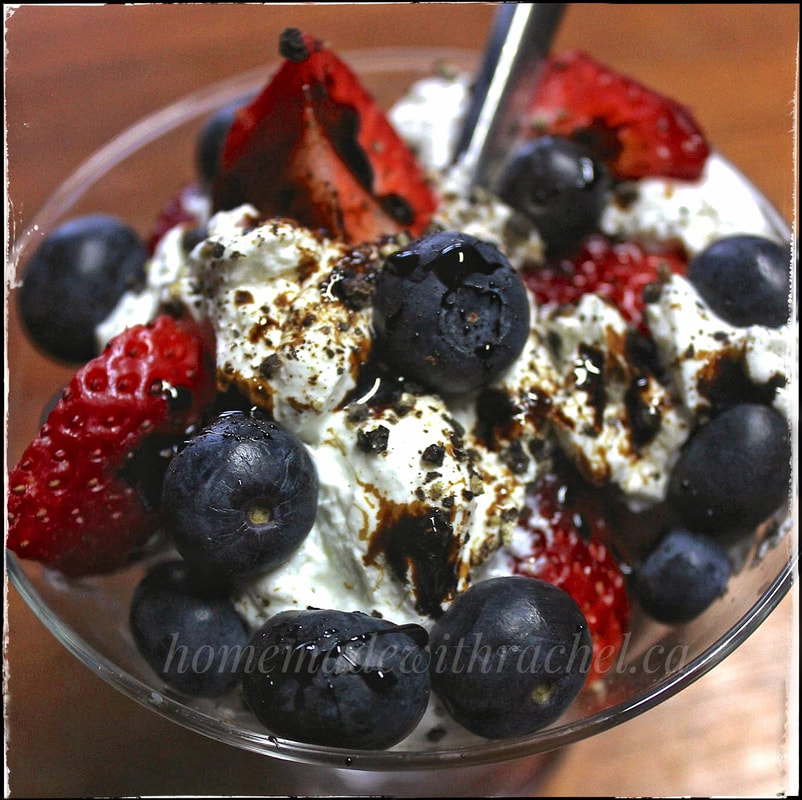 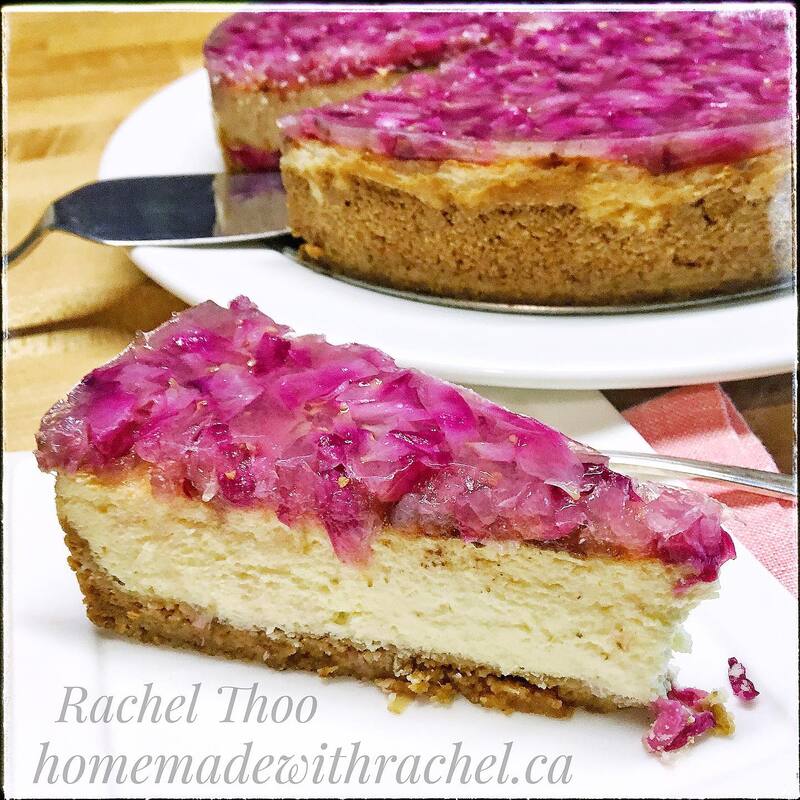    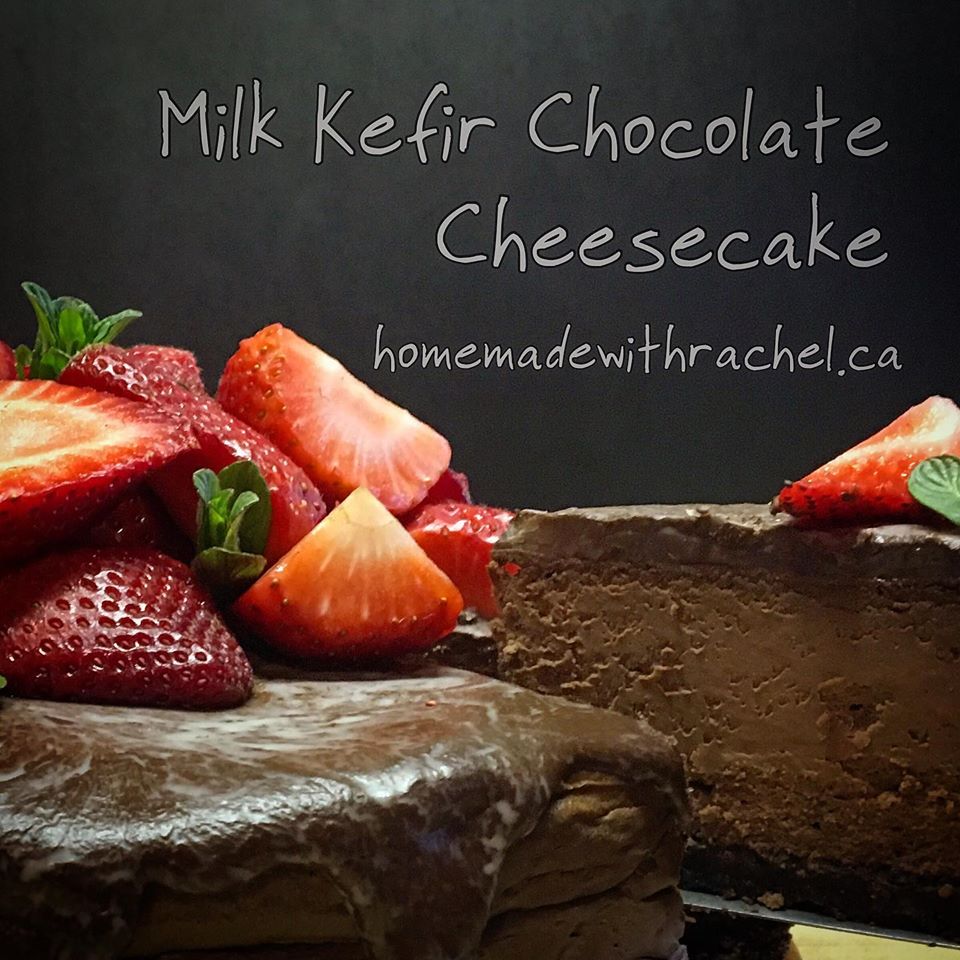  Instructions:
Tip:
To learn how to make Milk Kefir, click here: http://www.homemadewithrachel.ca/ferment/how-to-make-milk-kefir To buy Milk Kefir Grains, click here: http://www.homemadewithrachel.ca/store/p30/Live_Organic_Milk_Kefir_Grains.html
0 Comments
|
AuthorRachel conducts gardening, culinary and fermenting workshops/retreats at her home on 100 acres in Northern Ontario, Canada, where she lives in creative harmony with nature. Rachel’s mission is to ensure the wisdom of our ancestors is preserved for future generations. Archives
July 2020
Categories
All
Images ©2002-2023 Rachel Thoo |
 RSS Feed