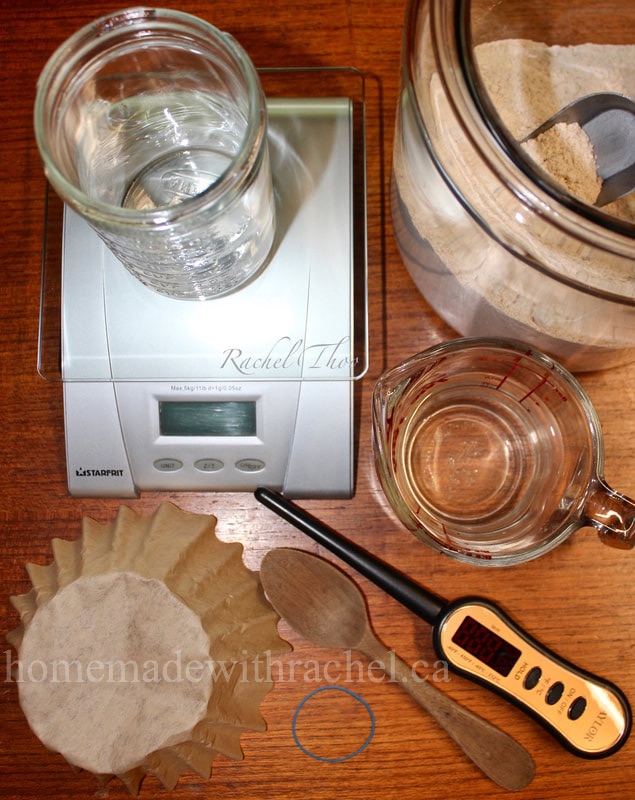
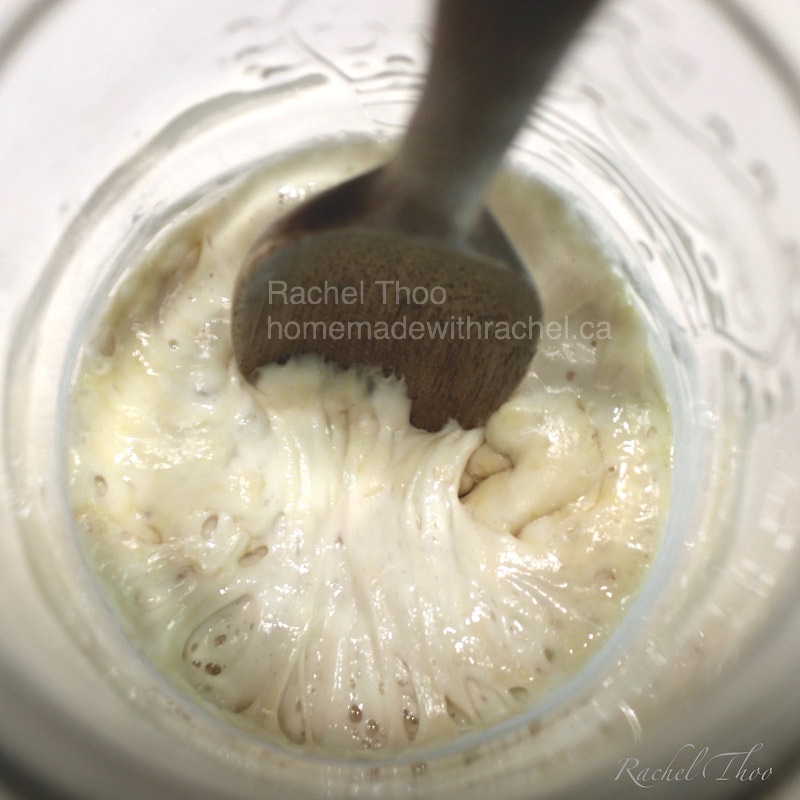
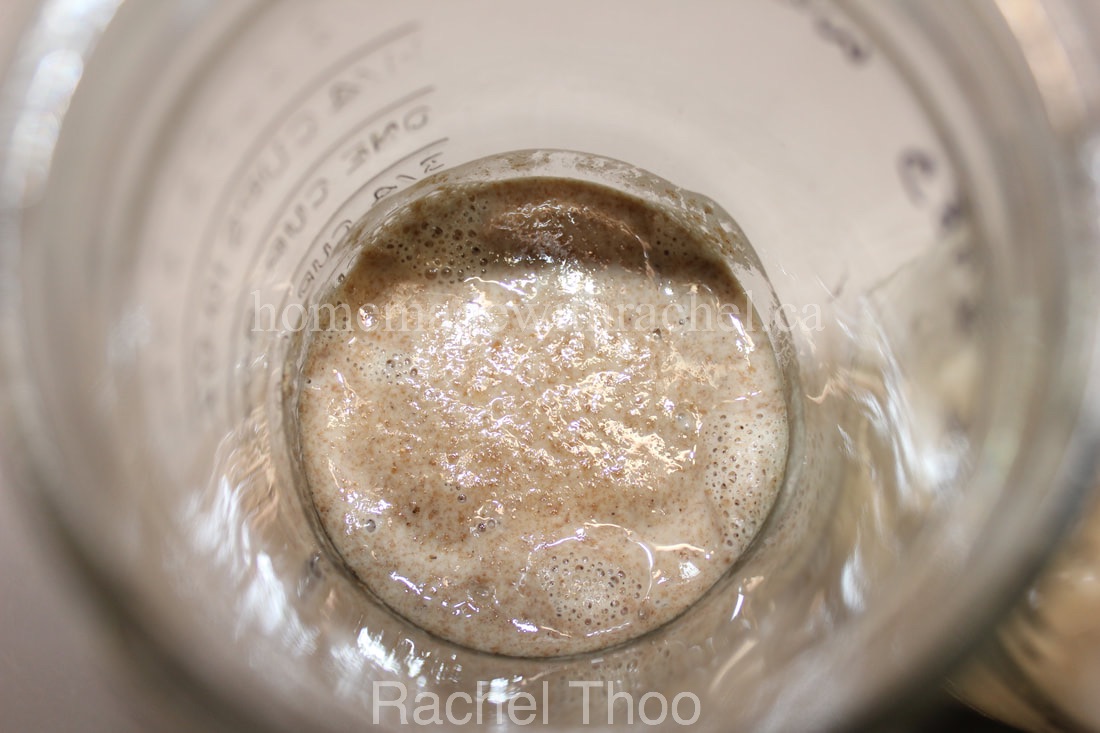
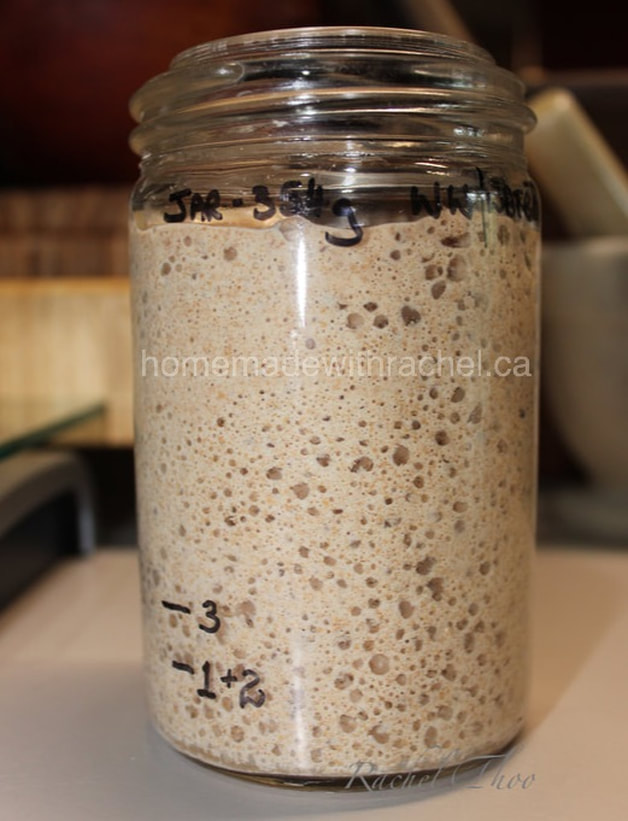
 How to Birth a Starter: Making sourdough bread is committing to a relationship with your starter. Think of it as your new born baby since your starter is also a living organism. It needs regular feeding at intervals, and they are all different with their own quirky characteristics. Although a step by step set of instructions may help guide you, just like a formula for your newborn baby’s feeding and napping schedule, adjustments will be needed on an individual basis. What do I Need to Make a Sourdough Starter? Container: You will need a clean non-reactive container that is at least 3-4 times taller than it is wide, preferably glass which helps you see the activity in your starter. Pottery, and good quality 304 & 316 grade stainless steel is usable. You may use food grade plastic, although plastic has a tendency to harbour bacteria and smell, and environmentally not a good choice. Do not use any other kinds of metals. The acid in the starter will eat the metals and therefore leach into your starter. A clean loose fitting lid, cloth or paper coffee filter with rubber band to keep flies, and dust away from the starter. Do not use cheese cloth. Fruit flies can penetrate through the open weave. You can have a snug fitting lid or a loose lid. Oxygen is good to help get the fermentation going for flourishing yeast activity, but most of the micro-organisms are anaerobic such as Lactic Acid Bacteria. Spoon: Non-reactive stainless steel spoon, at least 18/8. A digital kitchen scale: The formula for a starter is normally 50 percent flour + 50 percent water by weight, not volume which comes to 100% hydration based on Baker’s Percentage. Measurements in cups are not as accurate. The same flour weighed one, twice, thrice in a measuring cup will never come to the same conclusion, and a cup of water does not weigh the same as a cup of flour. It is faster, consistent, more accurate and easier to increase or decrease your portions accordingly on a scale, thus the reasons bakers use weights rather that volume. Nonetheless, I have given provisions for those without a scale to use measuring cups and tablespoons. *Weigh and write the weight in grams with a marker on the outside of your clean and empty container before you add your flour/water mixture. This will come in handy when adding or subtracting to your starter. Thermometer: Not crucial but helpful. Flour: The best flour for a starter is fresh wholegrain, especially rye due to the abundance of microorganisms necessary for fermenting. Use fresh unbleached, unprocessed organic flour. The chemicals in bleached flour will kill the crucial microorganism living in the flour. Water (or Juice): Use pure water. Microorganisms are sensitive to chemicals such as chlorine which kill pathogens such as bacteria, good and bad. You may set your chlorinated water out in a container overnight to let the chlorine escape. Distilled water is not recommended since minerals in pure water help keep the starter healthy. Pineapple juice could be used for those who have a difficulty with starting a culture. The acid in pineapple helps to encourage the right microorganisms to develop. Thus, it will not develop a cheesy or stinky feet smell notable in the first few days of a flour and water solution, especially in a white flour and water solution as the good and bad bacteria fight for dominance. See troubleshooting notes. If you want more info, Google “The Pineapple Solution” by Debra Wink. Day 1: Weigh your clean and empty container and mark the weight of your container Set your scale at 0 grams Add 40 grams (3tbsp) of water or juice, preferably 25-28ºC/77-82ºF Add 40 grams (5tbsp plus 1 tsp) of flour of your choosing Total = 80 grams Stir well to incorporate. I try to keep the sides as clean as possible by wiping the inside and outside of the container everyday after feeding to prevent mould. It also helps me to see what is going on in the container as the starter begins to rise and fall. Using a rubber band or a marker on the outside of the jar to mark the height of the starter in order to tell if your starter has risen and fallen. Cover the container, and place at room temperature between 20-25ºC/68-77ºF. Day 2: Do not feed. It usually takes more than 24 hours to begin fermentation. If you keep feeding before it has a chance to ferment, it slows down the process, and invites mould. Give it a stir, clean the sides and leave for another 24 hours. *If by any chance your starter has started fermented (you will see bubbles), skip Day 2 and proceed to Day 3. Day 3: If your starter is showing signs of good fermentation, Discard all but 20 grams of starter (1tbsp) Add 30 (2tbsp) grams water or juice Add 30 (scant 4tbsp) grams flour Total 80 grams Do not use your discard for sourdough discard recipes yet. It does not have significant good bacteria and yeast. If your mixture has no or very little activity, stir and follow Day 2 again. Day 4: Repeat Day 3. * If your starter was doing well on Day 3 or 4, and rose more than double, but seems to have lost its vitality the next day or two, that is because it is called a “false start” similar to a “false labour” in pregnancy. It may even have a bad smell, more noticeable in white flour solutions. The activity produce in your starter is caused by a gas producer Leuconostoc species of bacteria. After numerous feedings, the smell will dissipate, which means the beneficial Lactic Acid Bacteria (which is what makes a great sourdough starter) has taken over, and should spring back to action. Day 5: If not much is happening, continue as in Day 3 If your starter is active, showing signs of bubbles, and rising at a good rate to almost double the height or more, Discard all but 30 grams of starter (a heaping 1tbsp) Add 35 grams water (2.5tbsp) Juice is no longer necessary if acidic enough Add 35 grams flour (4tbsp plus 1tsp) Total 100 grams * If the starter starts to smell like alcohol or acetone, it means it needs to be fed more or more frequently. Day 6 If your starter has double within the first 12 hours and fell, it will need to be fed more or twice in a day. If not, continue as in Day 5 or Day 3, depending on how your starter is doing. You can either feed it twice with the formula for Day 5 or Discard all but 20 grams of starter (1tbsp) Add 40 grams water (3tbsp) Add 40 grams flour (5tbsp plus 1 tsp) Total 100 grams Day 7 By now, your starter will give you an idea of its routine. If it is active, bubbly and fermenting at a good rate with a predictable rise and fall, you can continue with the formula for Day 6. At this point, if there is no cheesy or stinky feet and it smells sweet and tangy (rye flour will have a nice apple scent), you can use the discard for pancakes, etc. You will find many recipes online. Day 8-14 Discard of all but 20 grams of starter (1tbsp) Add 40 grams water (3tbsp) Add 40 grams flour (5tbsp plus 1 tsp) Total 100 grams At any point after Day 7, you may want to experiment with some sourdough discard recipes, and may even try baking a loaf of bread. By Day 12, you should have a strong enough starter to bake loaves of sourdough bread with much depth and characteristics. Congratulations. You have birthed a healthy sourdough starter. Seasoned bakers will bless their starter with a name. I call my starter “Adam Levain.” Do not refrigerate your starter yet. You need to make your starter strong and steady at this point by regular feedings of once or twice a day, depending on your schedule or how fast your starter is rising and falling. This is the maturing period for your starter. If your starter is sluggish and not fermenting well, try adding a higher ratio of flour and water to your starter, or discarding more of the old starter. A lot of people make the mistake of thinking they need a higher ratio of starter to flour/water solution to make it healthy and active. Let me remind you that it’s like a small child that needs to be feed more when weak. After 14 days and onwards: At this point you can keep feeding starter every day at regular intervals of 12 or 24 hours, or keep it in the fridge and take it out a day or two before baking - refresh with feedings. You will need to know your levain, pay attention to the temperature of your environment, the effects of various type of flour and water used, etc. A 3 week old levain, fed everyday, is fully matured. Note: feeding your starter every day will give you consistent results. You may also try taking it out of the fridge 3 times a week to feed, even if you are not baking, once a week, or once a month. Bare in mind, it will respond accordingly to the amount of feedings you give it. Here is standard rule of thumb for once it’s established, feed once or twice per day as follows: 20g starter (1tbsp) 40 grams water (3tbsp 40 grams flour (5tbsp plus 1 tsp) Build to larger quantities as needed for various sourdough recipes. If you do not want to make your own starter, you can acquire one through another baker, or order one from me here. Comments are closed.
|
AuthorRachel conducts gardening, culinary and fermenting workshops/retreats at her home on 100 acres in Northern Ontario, Canada, where she lives in creative harmony with nature. Rachel’s mission is to ensure the wisdom of our ancestors is preserved for future generations. Archives
July 2020
Categories
All
Images ©2002-2023 Rachel Thoo |
Site powered by Weebly. Managed by Web Hosting Canada


 RSS Feed